SIERRA HACKINTOSH GUIDE FOR EVGA Z270 STINGER (200 SERIES)
Deprecated – Please refer to my High Sierra OpenCore guide
Sierra Hackintosh Guide for EVGA Z270 Stinger (200 series)
Hackintosh, macOS, Hardware
A guide for installing macOS Sierra on an EVGA Z270 Stinger motherboard and i7-7700k
This guide will show you how to install macOS Sierra 10.12.6 on a desktop running an EVGA Z270 Stinger motherboard. There are no changes made to the operating system partition, resulting in a very vanilla and therefore upgradable experience. For best results, use the hardware listed below.
Hardware
- • EVGA Z270 Stinger (111-KS-E272-KR)
- • i7-7700k
- • Asus GTX 670 4GB (GTX670-DC2-4GD5)
- • Samsung 960 EVO NVMe M.2 500GB
Note: This guide may need to be tweaked for similar hardware, such as any other 200 series motherboard. Any (or no) NVMe drive, any Kaby Lake CPU, and any GPU will likely work as is.
What works
- GPU hardware acceleration
- — Metal Support
- NVMe
- — TRIM Support
- Hardware sensors
- Audio
- — HDMI Audio
- — All 5 analog in/out ports
- Ethernet
- Sleep
- — Enters low power mode
- — Audio wakes up
- — Ethernet wakes up
- — Video wakes up
- Shutdown
- — Stays shut down
- — CMOS does not reset
- USB
- — USB 3.0
- — USB 3.1
- — USB-C
What doesn't work
- iMessage / Facetime
- Power button
- Wi-Fi (AW-CB210NF-P)
- Bluetooth
- HDCP
- Nvidia Web Drivers
- Accurate External / Internal drive icons
- Sleep slider in System Preferences > Energy Saver is missing
Instructions
Step 1: Download macOS Sierra
On a separate Mac, verify that you are up to date (at least 10.12.6).

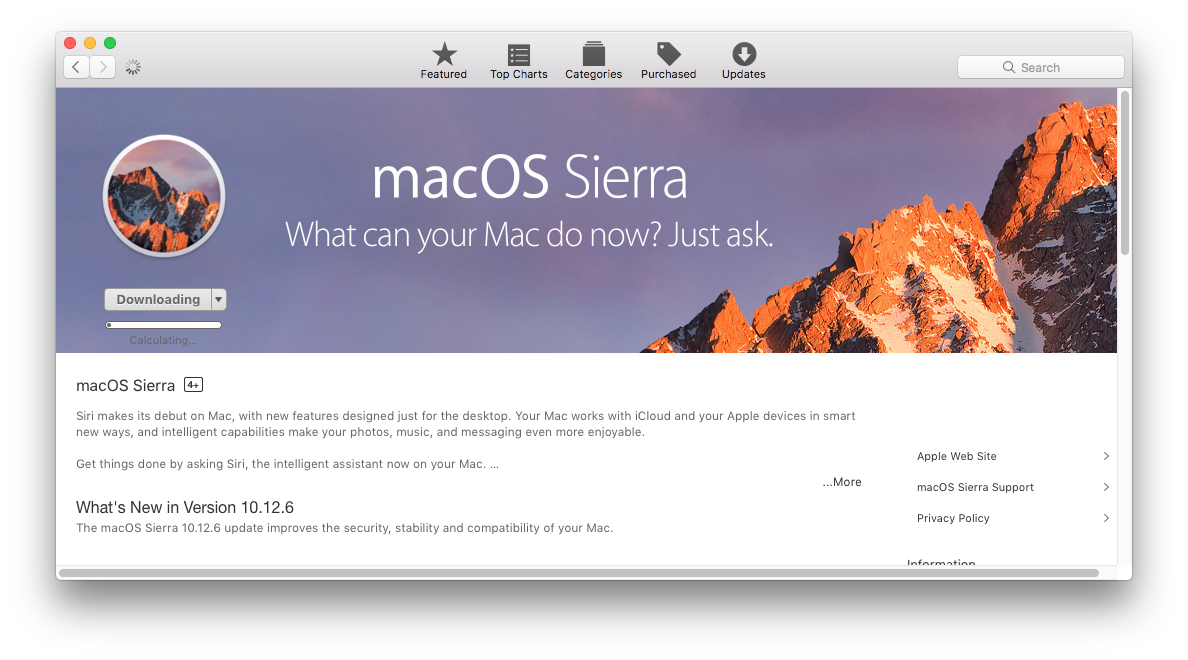
Find macOS Sierra in the App Store (direct link) and
download it.

Quit the installer when it opens.

Step 2: Create Bootable USB
Format Flash Drive
Plug an 8+ GB flash drive in.
In /Applications/Utilities/Terminal.app, run
diskutil list to find your disk identifier. Be sure, because we will be erasing
this disk. For example, in the below screenshot my disk identiier is 1.

Run the following and replace # with your flash drive's disk identifier.
diskutil partitionDisk /dev/disk# GPT JHFS+ "Install macOS Sierra" 100%You should see a volume named "Install macOS Sierra". Now run the following command to move macOS Sierra onto the drive. This command may take 30-40 minutes.
sudo "/Applications/Install macOS Sierra.app/Contents/Resources/createinstallmedia" --volume /Volumes/Install\ macOS\ Sierra --applicationpath "/Applications/Install macOS Sierra.app" --nointeractionIn the end, your terminal should look something like this.

Install Clover
Download the latest version of the Clover EFI bootloader (direct link) and run it. (I used Clover_v2.4k_r4200)
Click Continue twice, and then Change Install Location... to select your flash drive.

Click Continue again and then click Customize and check "Install or UEFI booting only"

Then click Install to complete the Clover installation.
Update Clover Configuration
Open the EFI partition created by Clover, and replace the EFI folder with the attached EFI folder.
This will replace the config.plist file with the one I have created as well as
install needed kexts. The config.plist file I created contains only the minimum
configuration needed for a completely working system. I spent many hours testing many
configurations and making sure only what was necessary was added. If you want to use more
up-to-date kexts, view the Sources section at the bottom.
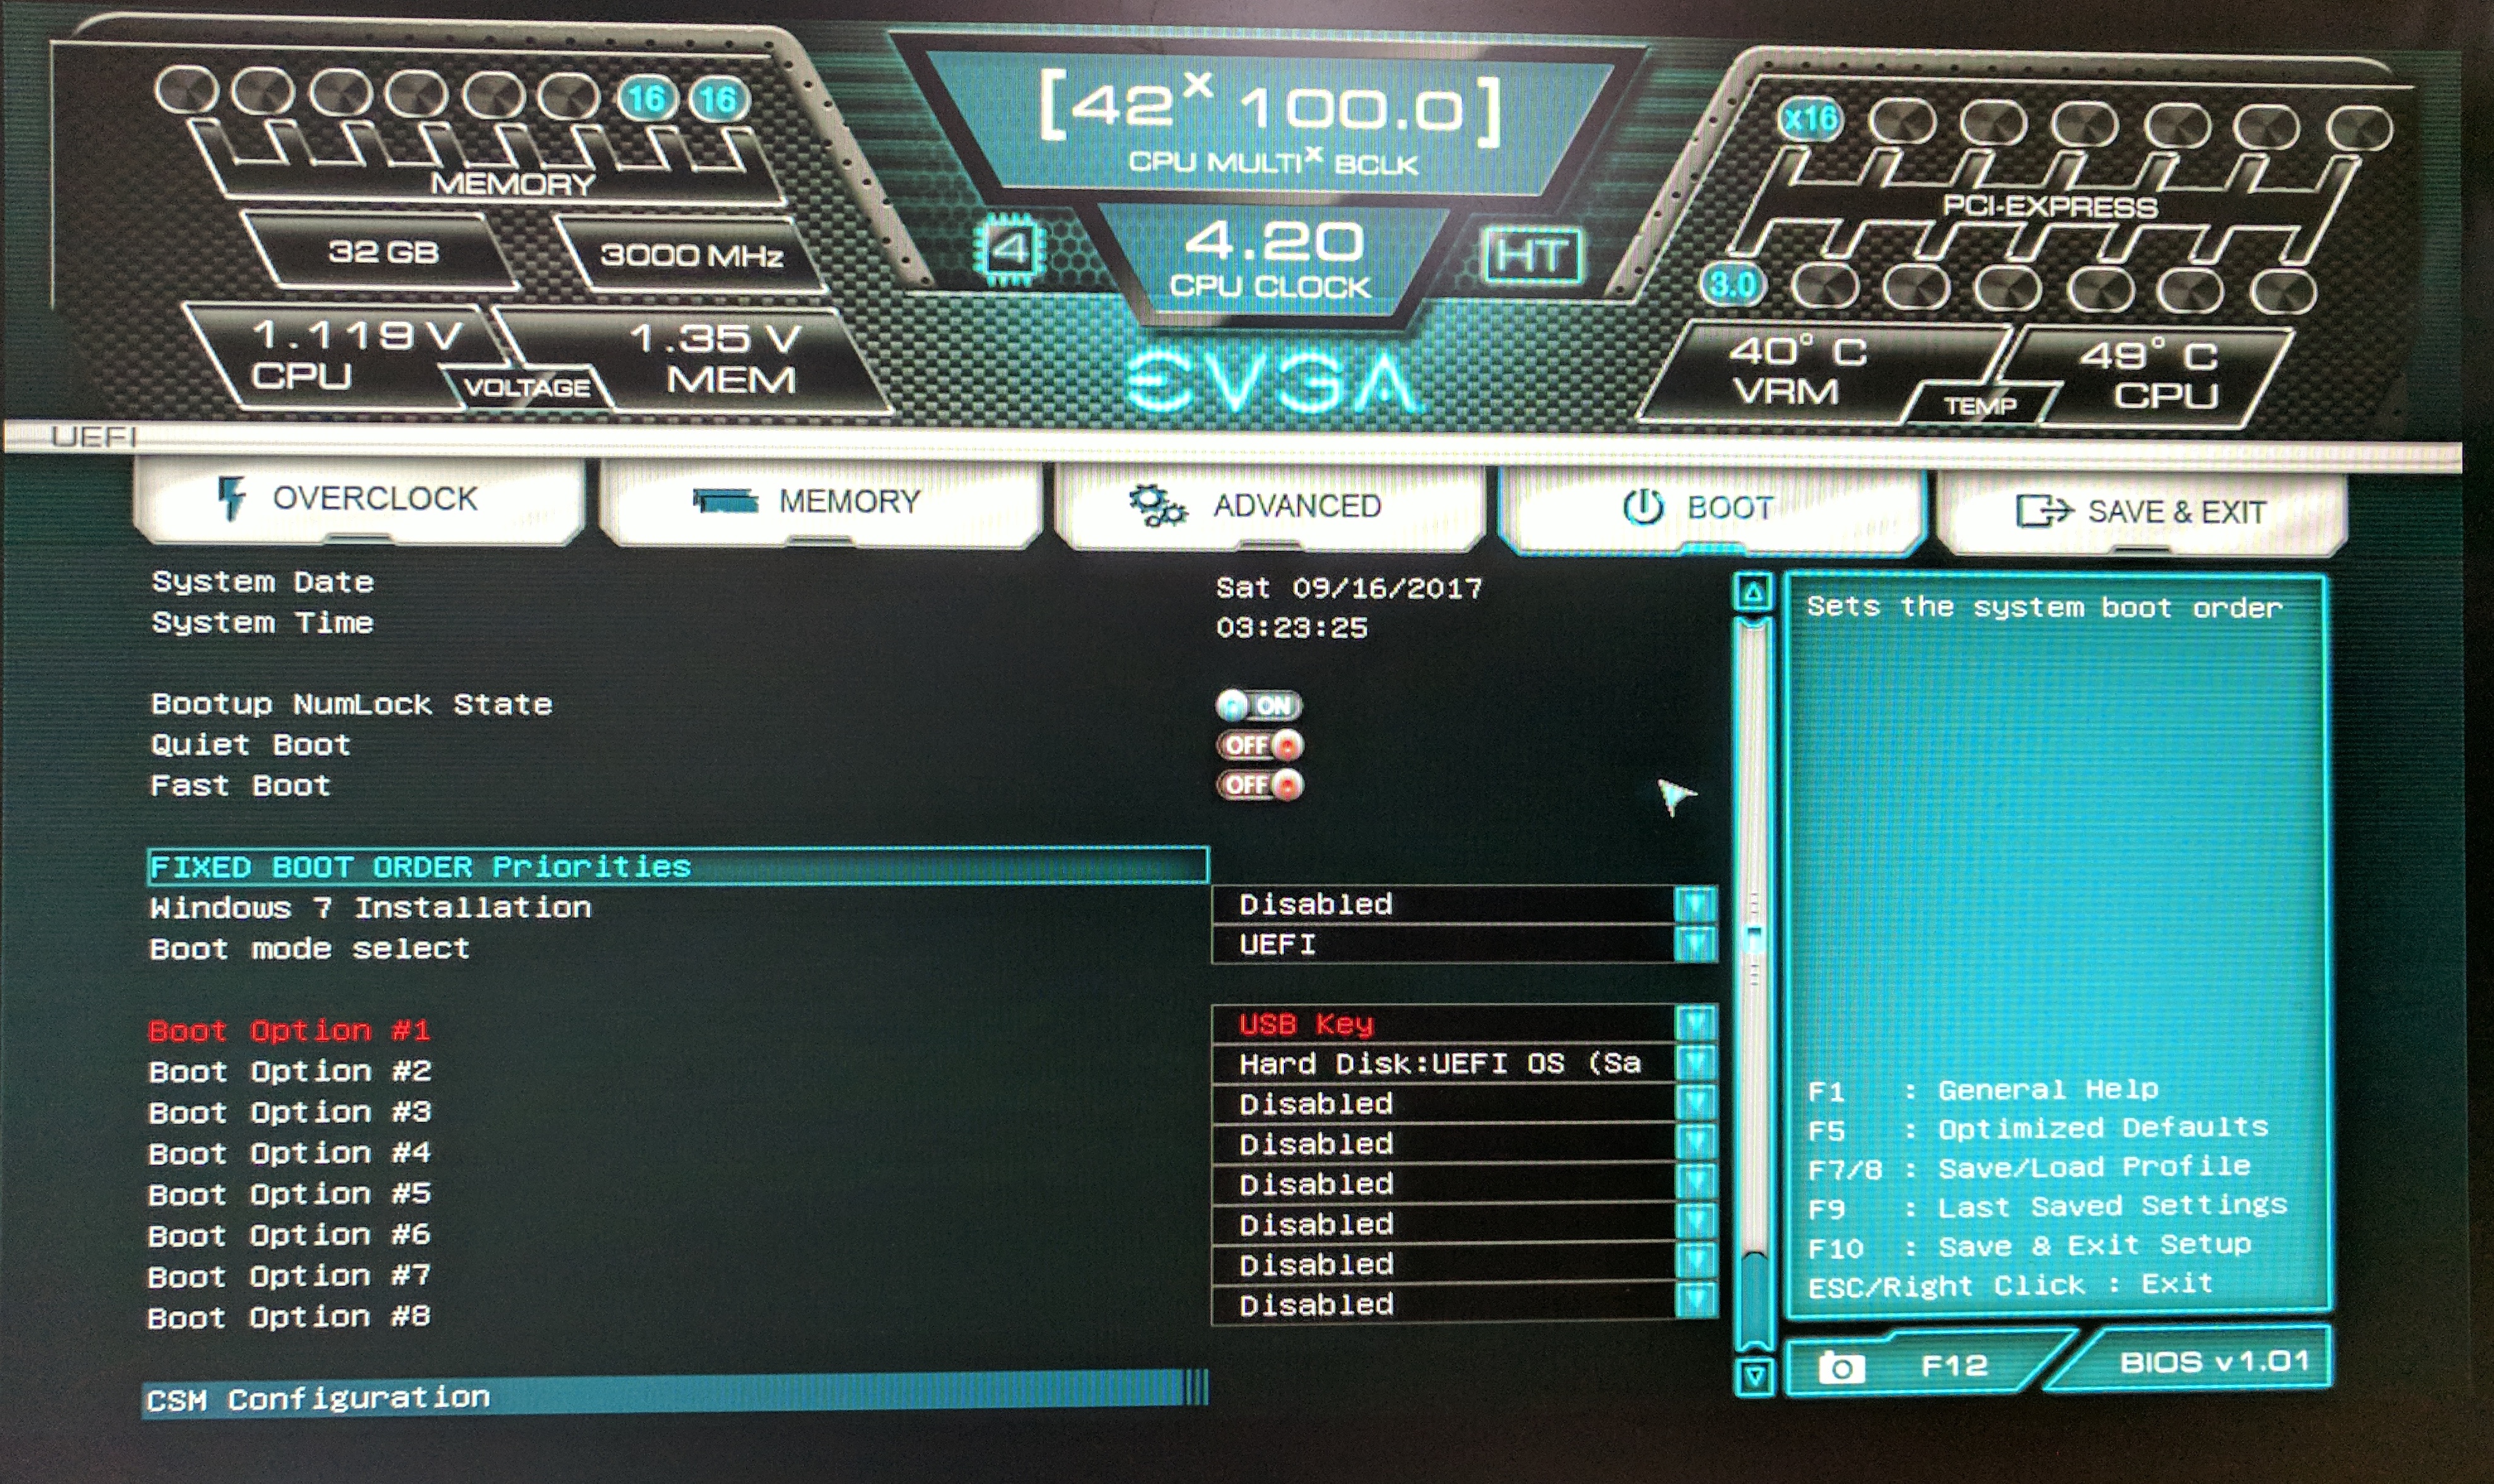
Step 3: Configure BIOS
During boot, press F2 to enter BIOS. Navigate to the ADVANCED tab and then click on CPU Configuration. Set Intel(R) Virtualization Technology For Directed I/O to
Disabled.

Set the primary boot device to USB Hard Disk.

Now press F10 to save and exit setup. Alternatively, you may apply the BIOS backup I created here.
Step 4: Install macOS
Installation
With the flash drive plugged in, boot the computer. If all goes well, you should be at the macOS installer screen. When the two part installer finishes, boot the computer one more time with the flash drive still plugged in.
You should now see your new macOS install as a bootable option in Clover. Select it and wait for it to boot. After logging in,
Install Clover
Download the latest version of the Clover EFI bootloader (direct link) and run it. (I used Clover_v2.4k_r4200)
Click Continue twice, and then Change Install Location... to select your macOS
installation.

Click Continue again and then click Customize and check "Install or UEFI booting only"

Then click Install to complete the Clover installation.
Update Clover Configuration
Open the EFI partition created by Clover, and replace the EFI folder with the attached EFI folder.
This will replace the config.plist file with the one I have created as well as
install needed kexts. The config.plist file I created contains only the minimum
configuration needed for a completely working system. I spent many hours testing many
configurations and making sure only what was necessary was added. If you want to use more
up-to-date kexts, view the Sources section at the bottom.
Kexts / Patches / Sources
- • NVMe Kext Patch (config.plist) from Pike R. Alpha
- • ACPISensors.kext, CPUSensors.kext, FakeSMC.kext, GPUSensors.kext, LPCSensors.kext from HWSensors Project (Binaries)
- • HDMIAudio.kext from Toleda
- • IntelMausiEthernet.kext from Mieze
- • Lilu.kext from vit9696
- • AppleALC.kext from vit9696
- • NvidiaGraphicsFixup.kext from lvs1974
- • USBInjectAll.kext, XHCI-200-series-injector.kext from RehabMan
Date
October 4, 2017
Skills
Hackintosh, macOS, Hardware, Operating Systems, PC Building


